How to Clean Your Computer Without Wrecking It
I have seen more computers damaged by cleaning than by dirt.
Not dramatically. Nobody has handed me a laptop in two pieces. But I have seen screens left permanently cloudy after being cleaned with household spray, keyboards that stopped working after a hopeful wipe with a soaking cloth, and laptops with fan problems shortly after somebody tried to blast the dust out.
In every case, the person was doing something entirely reasonable. Their computer was grubby, so they cleaned it using whatever was already under the sink.
The problem is that screens are not windows, and laptops are not worktops.
So this is what to use, what to keep well away, and how to clean each part of your computer without causing the damage you were trying to avoid.
Jump to the part you need:
Screens · Televisions ·
Keyboards · Laptop vents and fans
· Desktop towers ·
Mice and trackpads · Phones and tablets
· Spills
The short version
If you remember nothing else:
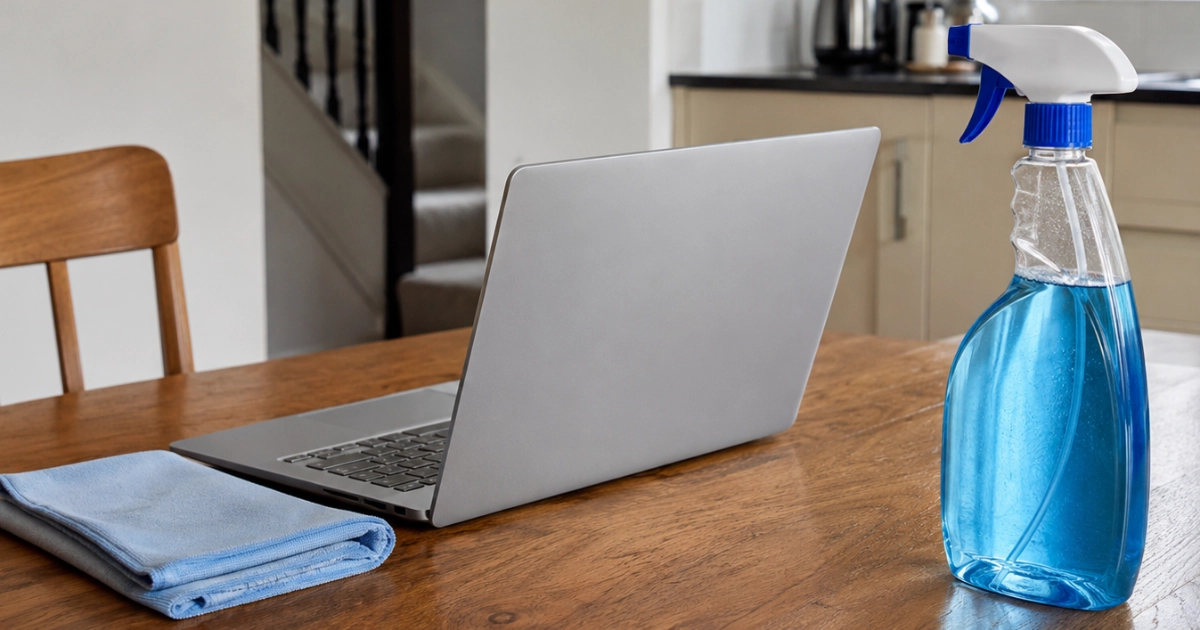
- Use a clean microfibre cloth, very slightly damp with water. That is the right answer most of the time.
- Never spray anything directly onto the device. Put it on the cloth instead.
- Turn the device off and unplug it first.
- Keep kitchen spray, window cleaner, paper towel and ordinary cleaning wipes away from screens.
Those four rules will prevent most cleaning mishaps.
Quick reference
| Usually safe | Keep well away |
|---|---|
| Clean microfibre cloth | Window and household cleaning sprays |
| Cloth very slightly dampened with water | Paper towel, tissues and newspaper |
| Soft brush for keyboards and vents | Baby wipes and general disinfectant wipes |
| Compressed air in short bursts where appropriate | Bleach, solvents and abrasive cleaners |
| Cotton buds around edges and seams | Furniture polish and washing-up liquid |
70% isopropyl alcohol is fine on some devices and not others. Check before you reach for it.
The safest default is always the same: start dry, add a tiny amount of water if needed, and only use anything stronger if the manufacturer says you can.
Why cleaning can cause damage
It helps to understand what you are actually cleaning.
Your screen is not just a sheet of glass
Modern displays often have thin surface coatings designed to reduce reflections, improve glare resistance or make fingerprints easier to remove. Phones and tablets usually have an oleophobic coating that helps repel grease from your fingers.
Household cleaners are made for worktops, windows, bathrooms and kitchens. They can contain alcohols, ammonia, solvents, detergents and other ingredients that were never intended for a computer display.
The frustrating part is that damage may not be obvious immediately. A screen can look beautifully clean afterwards, but repeated use of unsuitable products may eventually leave haze, patches or uneven reflections.
Manufacturers therefore tend to be much more conservative than the instructions on a bottle of household cleaner.
The safest default is simple: water and a microfibre cloth first.
Paper is rougher than it looks
Kitchen roll, tissues and newspaper are made from wood fibres. They feel soft against your hands, but they are much more abrasive than a good microfibre cloth.
One wipe is unlikely to destroy a screen, but repeatedly rubbing dust across a delicate surface with paper can leave fine scratches and gradually dull it.
Microfibre works much better because it traps dust rather than simply dragging it around.
Liquid goes where you cannot see it
This is the one that can actually kill a computer.
Laptops have openings everywhere: speaker grilles, vents, ports, the gaps around keys and the seam around the display.
Spray cleaner directly towards a screen and some of that mist will inevitably end up somewhere else. Once liquid gets through a keyboard or into a port, you have moved from cleaning into electronics repair.
Spray or dampen the cloth instead, and you control exactly how much liquid exists.
What to actually use
You do not need a cupboard full of specialist computer-cleaning products.
A clean microfibre cloth
Buy a few and keep one specifically for screens. A cloth that has already been used on a greasy keyboard, kitchen surface or car dashboard will simply transfer that residue onto the display.
Wash them occasionally and avoid fabric conditioner, which can leave residue on the fibres.
Clean water
Ordinary tap water is fine for most cleaning. If your water leaves noticeable mineral spots when it dries, distilled or deionised water is a useful alternative.
You only need enough to make part of the cloth barely damp.
A proper screen-cleaning product
These can be useful, particularly for stubborn marks, but check what the device manufacturer recommends first.
Do not assume that a product advertised for televisions, glasses or phones is automatically suitable for every type of computer display.
70% isopropyl alcohol, where permitted
This is where advice online becomes surprisingly contradictory.
You will often see people insisting that alcohol must never touch a computer display. That is too simple.
Some manufacturers, including Apple and Microsoft, specifically permit 70% isopropyl alcohol on certain devices and surfaces for stubborn marks. Others advise against alcohol on particular displays.
So the sensible rule is: water first. If that does not work, check the manufacturer’s instructions before using anything stronger.
And do not substitute a stronger bottle because it sounds better. If the manufacturer specifies 70% isopropyl alcohol, follow that guidance. A 99% product is not automatically a safer or more effective screen cleaner.
Cotton buds and a soft brush
Cotton buds are useful around edges and seams, while a clean soft brush such as a small paintbrush or make-up brush is excellent for lifting dust from keyboards and ventilation grilles.
Be careful around ports. The aim is to remove visible dust, not push material deeper inside.
A few surprisingly common things not to use
The table above covers the main offenders, but a few are worth calling out because people quite reasonably assume they should be safe.
Baby wipes are gentle enough for skin, but that does not mean they are ideal for electronics. They usually contain preservatives and detergents, and they are often far wetter than you want anywhere near a keyboard.
General disinfectant wipes have the same problem unless the manufacturer specifically says they are suitable for the device.
Paper towel and tissues feel soft, but they are more abrasive than microfibre.
Furniture polish is designed to leave a finish behind, which is precisely what you do not want on a screen.
And washing-up liquid belongs on plates, not displays. Even heavily diluted, it is unnecessary when water and a microfibre cloth will deal with most marks.
Cleaning a computer screen
Turn the device off first. Partly for safety, but mostly because fingerprints, smears and dust are much easier to see against a black screen.
1. Start dry
Use a clean, dry microfibre cloth to lift loose dust. Do not scrub.
2. Add a tiny amount of water
If marks remain, dampen one corner of the cloth. It should feel barely damp rather than wet.
If you can see droplets or obvious moisture being transferred to the screen, you are using too much.
3. Wipe gently
Use light pressure. There is no need to polish aggressively or repeatedly scrub one patch.
If something will not come off, dampen the cloth again and give it another gentle pass.
Be particularly careful along the bottom edge of a laptop screen. Do not leave enough moisture on the cloth for it to collect or run into the seam around the bezel.
4. Dry it
Use a clean, dry section of the cloth to remove any remaining moisture.
And do not press hard. On an LCD panel you may see coloured distortion if you press too firmly. That is the screen telling you quite clearly to stop.
What about televisions?
The same basic rules apply.
A television is just another large electronic display, even though people often clean one as if it were a window.
Start with a dry microfibre cloth, then use a very slightly damp one if needed. Do not automatically use alcohol, glass cleaner or household spray.
OLED, matte, anti-glare and other specialist displays can have their own cleaning requirements. Some high-end screens are particularly fussy. Apple’s nano-texture displays, for example, have their own specific cleaning instructions and a dedicated polishing cloth.
When a screen costs hundreds or thousands of pounds, spending thirty seconds checking the manufacturer’s instructions is worthwhile.
Keyboards
Shut the computer down and unplug it first.
On a laptop this genuinely matters. A damp cloth rubbing across a running keyboard can generate an impressive collection of unintended key presses.
Crumbs and dust
Turn the keyboard, or the whole laptop, upside down over a bin and give it a gentle shake. You may be surprised by what falls out.
Then use a soft brush between the keys.
Compressed air can help too. Use short bursts, keep the can upright and direct the air across the keyboard rather than forcing debris straight down into it.
Do not tilt or invert an aerosol can while spraying. Some cans can discharge extremely cold liquid propellant when used at the wrong angle.
Greasy keys
A very slightly damp microfibre cloth is normally enough, with a cotton bud useful around the edges.
If stubborn marks remain, check whether your manufacturer permits something stronger such as 70% isopropyl alcohol.
Can I remove the keys?
On many desktop keyboards, yes. Take a photograph of the layout first.
Keycaps can often be removed and cleaned separately, but make absolutely sure they are completely dry before putting them back.
Laptop keyboards are different.
Do not start pulling laptop keys off because one looks dirty. The small plastic clips underneath are fragile, fiddly and very easy to break.
Replacing one is a job. Replacing several because you got curious is a worse one.
Vacuum cleaners and computers
A household vacuum cleaner is fine for cleaning around the computer.
A light pass over an external keyboard or around the outside of ventilation grilles is unlikely to cause trouble. Putting the nozzle inside a computer case is different.
There are small components, wires and connectors that do not need to meet the full enthusiasm of your Dyson. There is also a potential static risk.
For internal cleaning, compressed air and a soft brush are usually the safer tools.
Laptop bodies, vents and fans
The outside of a laptop normally needs nothing more than a slightly damp microfibre cloth. Avoid pushing moisture into ports and openings.
The ventilation system deserves a little more attention because dust really can affect performance.
A clogged cooling system makes the processor run hotter. The computer may respond by slowing itself down to reduce the temperature, which means some apparently “slow” laptops are actually partly suffering from poor cooling. If that sounds familiar, this guide walks through the other common causes.
Cleaning the vents
With the laptop switched off and unplugged, you can use short bursts of compressed air around the ventilation grilles.
Do not continuously blast air into one opening. You may simply move the dust further inside.
And do not poke cocktail sticks, screwdrivers or other objects through the vents to try to reach the fan.
If you have opened the machine and can physically see the fan, it is sensible to stop the blades from spinning wildly while you use compressed air. If the laptop is still assembled, leave the fan alone.
A heavily clogged machine really needs its base removed so that the heatsink, fan and vents can be cleaned properly.
Some laptops make that easy. Others involve hidden screws, ribbon cables and plastic clips apparently designed by somebody who dislikes repair technicians.
If the fan is constantly loud, the machine feels unusually hot, or it shuts itself down under load, you are past a quick clean of the vents and into servicing territory.
Desktop towers
Desktop computers are easier because there is actually room to work.
Turn it off, unplug it from the mains and take it somewhere you do not mind getting dusty. A garage or outdoors on a dry day is ideal.
Remove the side panel and use compressed air in short bursts. If you can reach the fans safely, stop them spinning while you blow air through them.
Pay particular attention to:
- Front air filters
- Heatsink fins
- Case fans
- Graphics-card fans
- Power-supply ventilation grilles
Do not dismantle the power supply itself.
Dust trapped in filters and heatsink fins is the stuff that genuinely restricts airflow. A thin cosmetic layer of dust on everything else looks unpleasant but is usually much less important.
Try not to touch circuit boards more than necessary.
Mice and trackpads
Mice collect a surprising amount of grime around the buttons, feet and seams. A slightly damp microfibre cloth works well, with a cotton bud useful around the edges.
If the pointer starts jumping around, check the optical sensor underneath. A single hair across it can cause remarkably odd behaviour.
Trackpads normally need nothing more than the same slightly damp microfibre treatment.
Phones and tablets
Phones are fingerprint magnets, but they are also one of the easiest devices to clean. A soft microfibre cloth handles most marks, and if something more stubborn remains, check the manufacturer’s cleaning instructions.
Modern phones often have some degree of water resistance, but that is not an invitation to wash them under the tap. Water-resistance ratings assume particular test conditions, and seals can deteriorate with age or after repairs and impacts.
Do not blow compressed air into phone ports unless the manufacturer specifically recommends it.
What if I spill something?
This is no longer cleaning.
Speed matters.
If liquid goes into a laptop:
- Turn it off immediately. Hold the power button if necessary.
- Disconnect the charger and anything plugged into it.
- If it has an externally removable battery, remove that too. Most modern laptops do not, so do not start dismantling the machine just to reach an internal battery.
- Do not keep turning it back on to see whether it survived.
- Blot away visible liquid without pushing it further inside.
- Get proper advice if more than a tiny amount went in.
A small splash of clean water on the edge of a laptop is very different from a mug of coffee through the keyboard.
Sugary drinks, milk, juice, beer and wine are particularly troublesome because they leave conductive or corrosive residue behind after the liquid itself has dried.
That means a computer can appear to recover and then develop problems later.
And no, putting it in rice is not going to save it.
Rice is good with curry. It is not an electronics repair tool.
Do not reach for a hairdryer either. Heat can damage plastics, adhesives, batteries and displays, while a strong blast of air may simply push the liquid further inside.
Leave the drying to ordinary airflow and, after a significant spill, get the machine checked before powering it back on.
How often should you clean everything?
Less often than the internet sometimes suggests.
Screen: Clean it when you notice it needs cleaning. For most people, every couple of weeks is plenty.
Keyboard: Shake loose debris out every month or so and give it a more thorough clean every few months.
Laptop vents: Check them every six months or so. More often if you have pets, smoke indoors or regularly use the laptop on soft furnishings.
Desktop interior: Once or twice a year is normally enough unless the environment is particularly dusty.
Cleaning something constantly is not automatically better for it. A screen that is wiped every day with cleaning products is potentially receiving far more wear than one that simply has the occasional fingerprint on it.
When to stop and ask
Some situations are worth handing over rather than pressing on:
- A significant amount of liquid has gone inside
- The liquid contained sugar, milk or alcohol
- The fan is loud or rattling
- The computer is getting very hot
- The machine shuts down unexpectedly
- Keys stopped working after cleaning
- A screen has developed haze, patches or discolouration
- You are about to dismantle a laptop and have never opened one before
That last one is not me protecting my trade.
Modern laptops contain thin ribbon cables, delicate connectors and plastic clips that are surprisingly easy to damage.
I would much rather clean a dusty laptop than repair a display cable somebody accidentally tore while trying to get the bottom cover off.
The habit worth keeping
Most cleaning damage comes from good intentions and the wrong bottle.
So the rule I would actually remember is this:
If you do not know what is in it, do not put it on the screen.
Start with a clean microfibre cloth. Add a tiny amount of water if you need it. Only move on to a cleaning product if the manufacturer says it is suitable.
Screens do not need cleaning products nearly as often as cleaning products need selling.
And if something has already gone wrong, whether that is a spill, a hazy screen or a laptop that has suddenly started running hot, there is No Shame in Asking.
Far better to ask early than spend a week hoping it will sort itself out.